Before you start
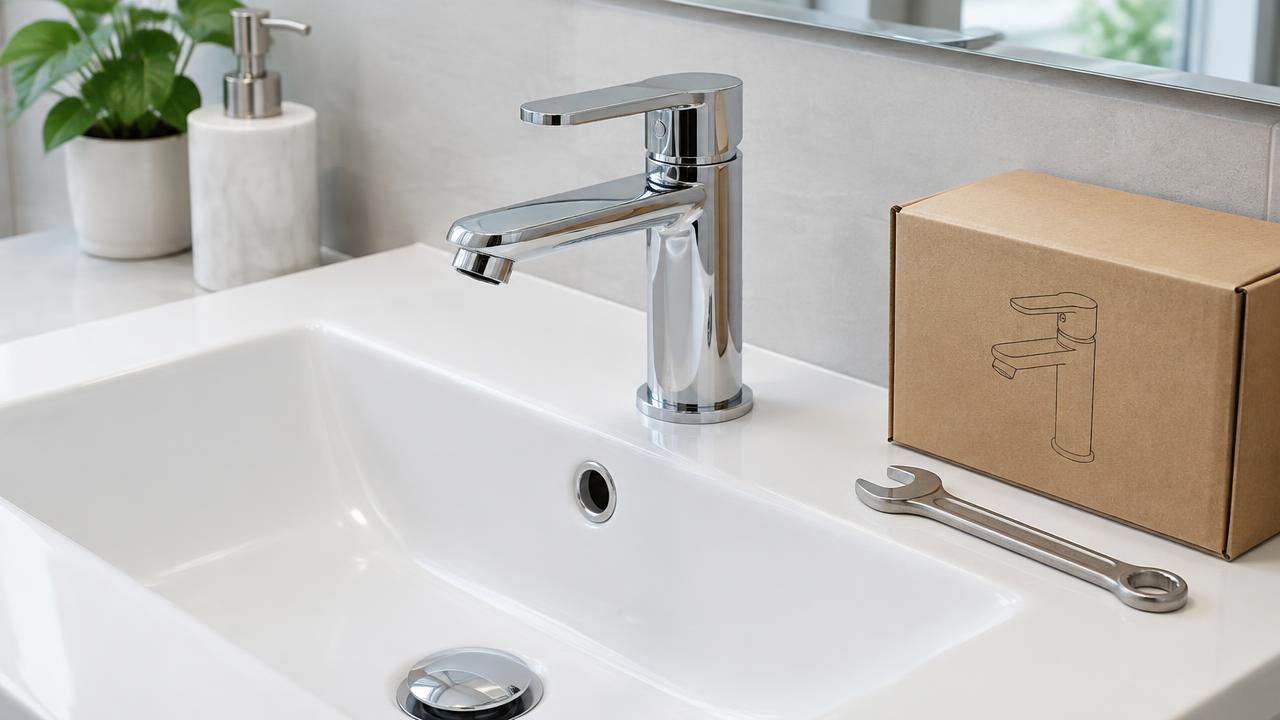
Check the new tap fits your basin. Most UK basins have one tap hole of about 35mm. Check the tap's minimum pressure too — some taps need good pressure and will run slowly on low-pressure (gravity) systems. The box will say.
Clear the cupboard under the basin and lay a towel down. Working space is tight, so a head torch helps a lot.
Step 1: Isolate the water
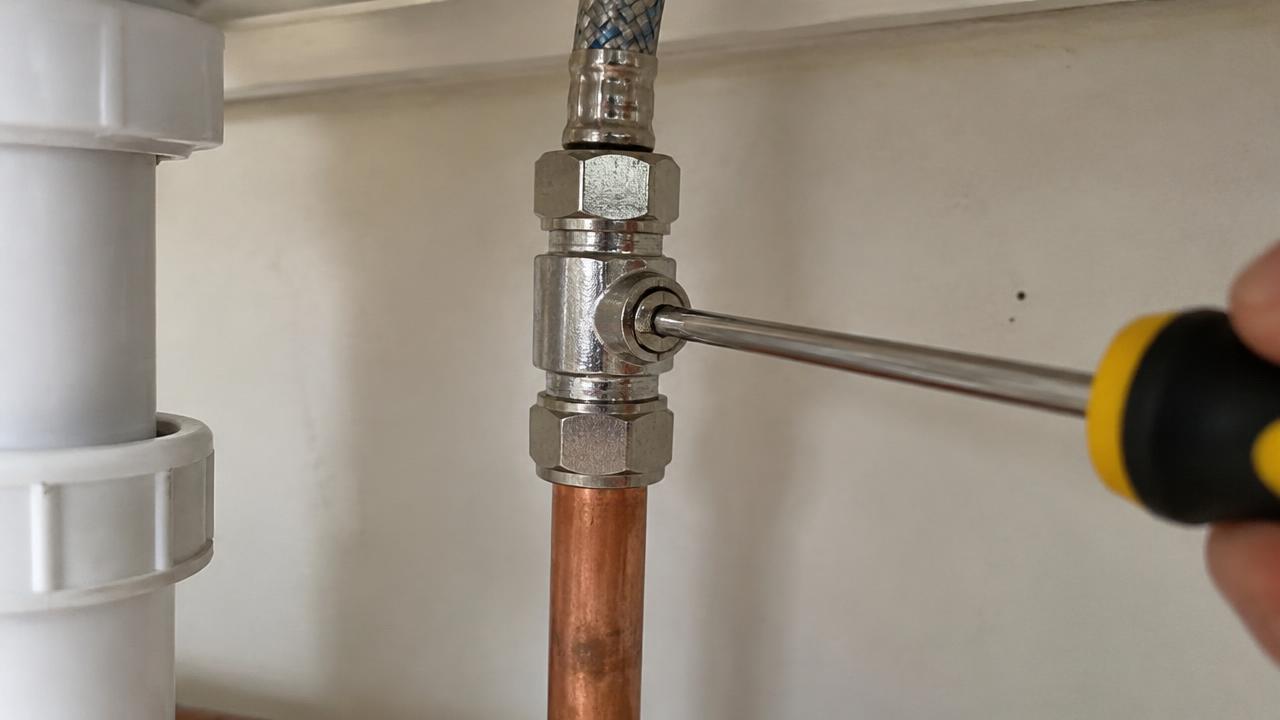
Turn the hot and cold isolation valves off (slot across the pipe). If there are none, turn off the stopcock and drain the hot by running the hot tap. This is a good time to fit isolation valves if they are missing.
Step 2: Remove the old tap
- Put a bucket under the connections.
- Undo the flexible tails from the isolation valves.
- Disconnect the pop-up waste rod if your tap has one.
- Undo the back nut or fixing bracket under the basin.
- Lift the old tap out and clean the basin surface well.
Step 3: Fit the new tap
- Screw the flexible tails hand-tight into the bottom of the new tap.
- Put the rubber base seal (or O-ring) under the tap body. This is your SSS seal: solid tap, seal, solid basin.
- Feed the tails through the hole and stand the tap straight.
- From below, fit the horseshoe washer, metal plate and nut onto the threaded stud. Tighten until the tap does not move.
Pro tip: Do not over-tighten — ceramic basins can crack. Firm is enough.
Step 4: Connect the water
Connect the hot tail (usually marked with red) to the hot supply and the cold to the cold. Flexi tails have a rubber washer inside the nut, so they only need a firm hand-tight plus a quarter turn with a spanner. Do not use PTFE on these — the rubber washer is the seal.
Step 5: Test
Turn the isolation valves on slowly. Look and feel all joints with dry tissue. Run the tap fully hot and fully cold for a minute, then check again. Check the next day too, as slow weeps can take time to show.
Common mistakes
- Forgetting the base seal — water runs under the tap into the cupboard.
- Kinking the flexible tails. They must curve gently.
- Cross-threading the tails into the tap body.
- Mixing hot and cold.