Why taps drip
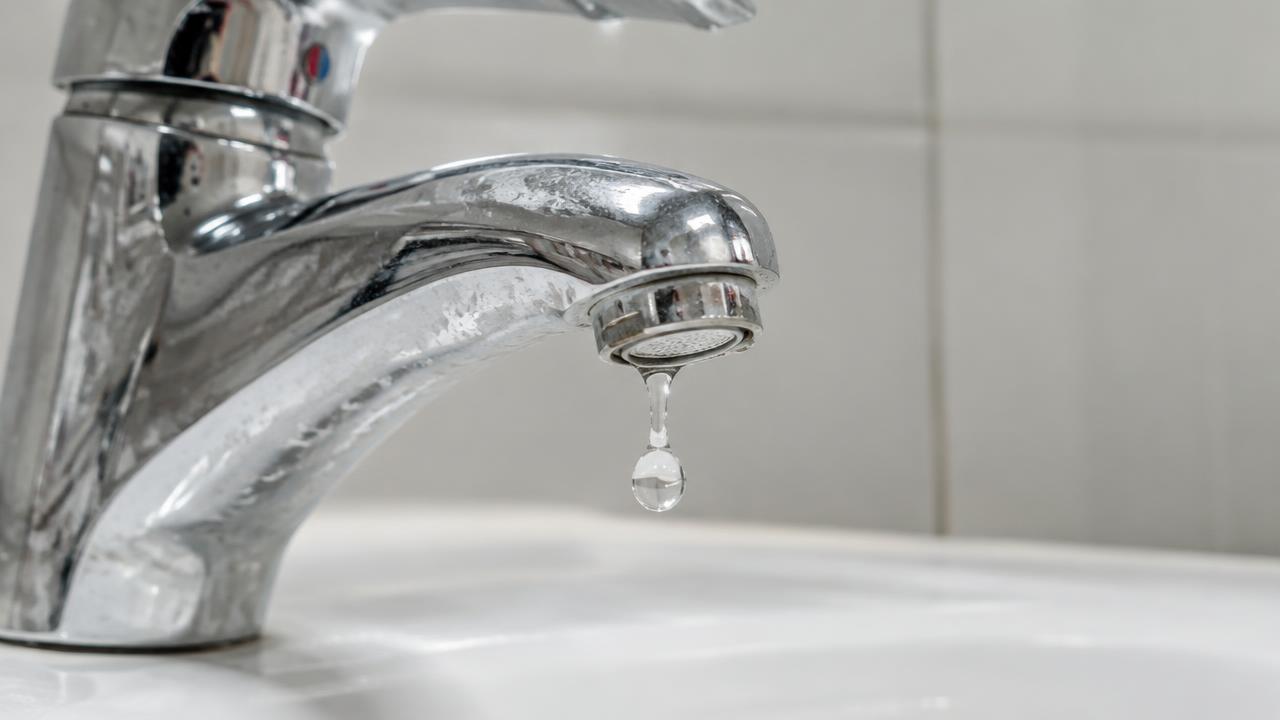
A tap drips because water is getting past the part that is supposed to stop it. Inside every tap there is a seal. When you close the tap, that seal presses down and blocks the water. Over time the seal wears out, gets hard, or gets damaged by limescale, and a tiny gap opens up. Water always finds the gap.
A drip looks small, but one drip per second wastes thousands of litres a year. If you are on a water meter, you pay for every drop. A drip can also leave limescale marks and stains in your basin or bath.
Step 1: Find out what type of tap you have
This is the most important step, because it tells you which part to buy.
- Washer tap (traditional): the handle turns two or more full turns from off to fully on. Inside there is a rubber washer on a jumper. This is common on older pillar taps.
- Ceramic disc tap: the handle only turns a quarter or half turn. Inside there is a cartridge with two ceramic discs that slide over each other. Most modern mixer taps are like this.
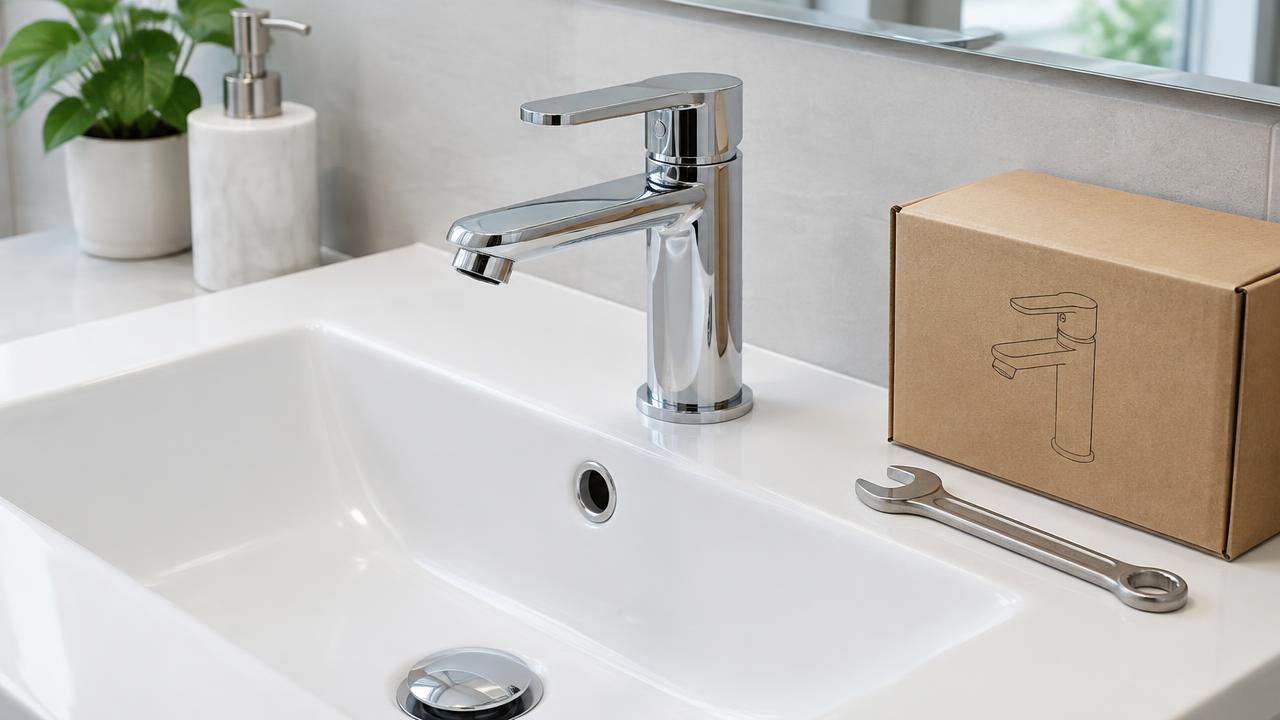
- Single-lever mixer: one lever controls hot and cold. Inside is one larger cartridge. These are replaced as a whole unit.
Pro tip: Take a photo of the tap and note the brand before you start. It makes buying the right cartridge much easier.
Step 2: Turn off the water
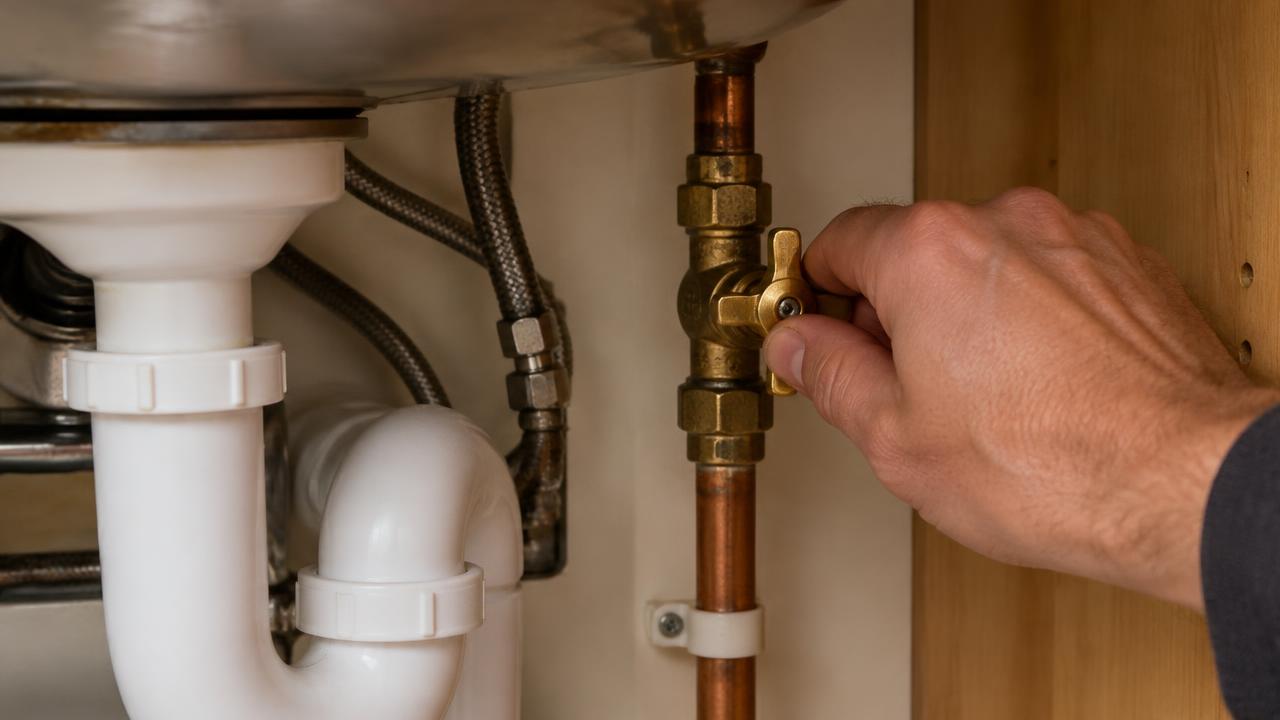
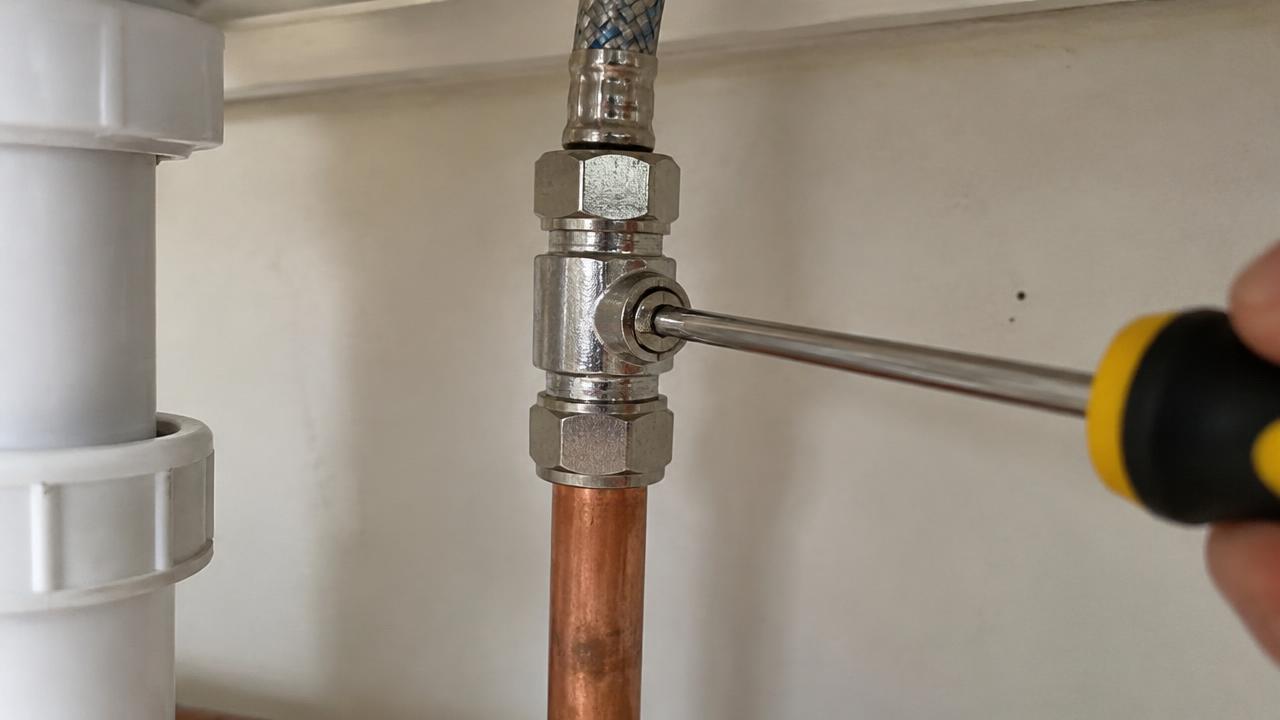
Look under the basin or sink for small isolation valves on the pipes. Turn the slot a quarter turn with a flat screwdriver so the slot is across the pipe — that means off. If there are no isolation valves, turn off the stopcock (see our stopcock guide). Then open the tap to let the water drain out.
Put the plug in the basin. Small screws love to fall down the plughole.
Step 3: Take the tap apart
- Prise off the little hot or cold cap on top of the handle with a flat screwdriver.
- Undo the screw underneath and pull the handle off.
- Hold the tap body still with one hand. With a spanner, undo the large nut (the headgear) anti-clockwise. Holding the body stops you twisting the tap on the basin.
- Lift out the headgear or the cartridge.
Step 4: Replace the washer or cartridge
On a washer tap, the washer sits on the bottom of the headgear, held by a small nut or just pushed on. Remove it and fit the new one of the same size. A ½ inch washer is common for basins, ¾ inch for baths.
On a ceramic disc tap, take the old cartridge to a plumbing merchant and match it exactly — the number of splines (teeth) on the spindle and the length both matter. Hot and cold cartridges often turn in opposite directions, so check which is which.
Put a little silicone grease on rubber O-rings. This helps them seal and stops them tearing.
Why the seal matters — the SSS rule
At Plumbers University we teach the SSS rule: Solid – Seal – Solid. Between two solid parts there must always be a seal. In a tap, the solid brass seat and the solid headgear meet, and the washer or ceramic disc is the seal between them. If the seal is worn, the two solids cannot close the gap on their own, and it drips.
Step 5: Put it back and test
Refit the headgear and tighten it firmly but do not force it. Put the handle back on. Turn the water on slowly at the isolation valve and check for drips at the spout and around the handle.
Common mistakes
- Forgetting to hold the tap body, which twists the tap and breaks the seal underneath it.
- Buying a cartridge that looks the same but has the wrong number of splines.
- Over-tightening the headgear and cracking the ceramic discs.
- Not turning the water off properly before starting.
When to call a plumber
If the tap body itself is cracked, the seat is badly worn, or water comes from under the tap rather than the spout, the tap may need replacing. That is a slightly bigger job, but one our students learn early on.