Top-removable or not?
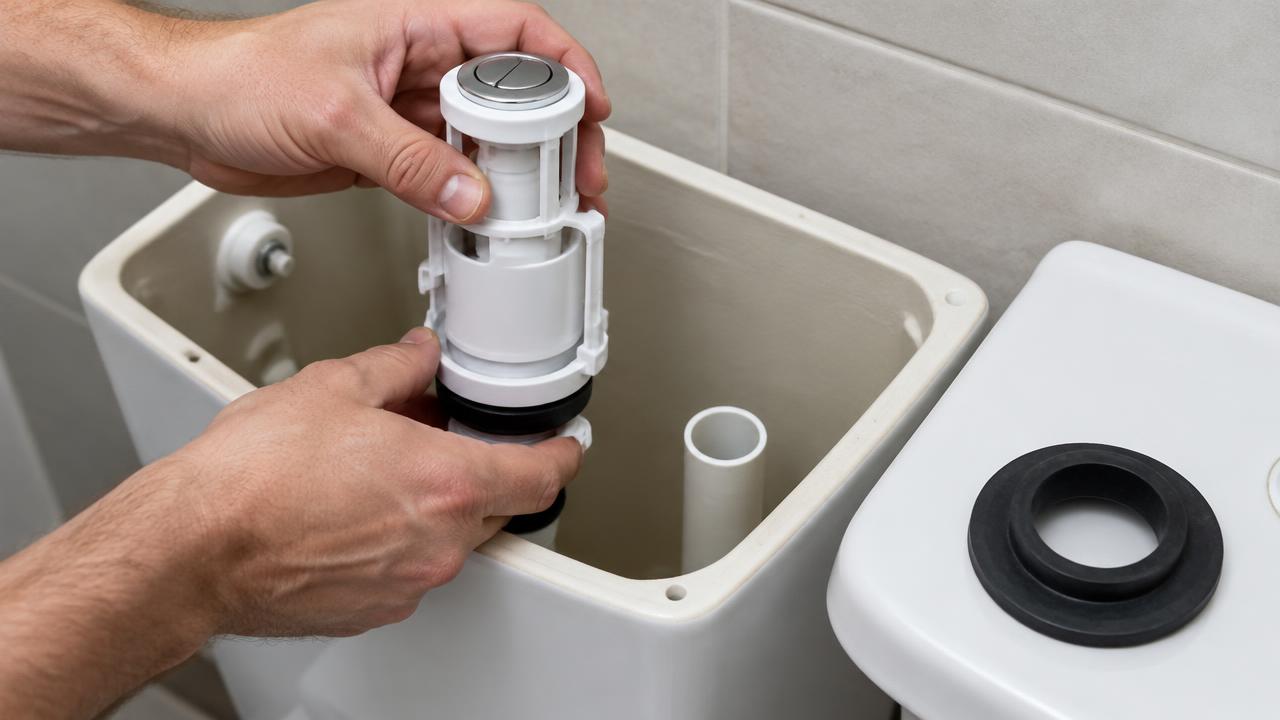
Look at the valve. Many have a bayonet base: twist the inner part a quarter turn and lift it out, leaving the base fixed. You can replace the seal or the inner part without removing the cistern. Older or cheaper valves are held by a large nut under the cistern, which means removing the cistern.
Replacing from the top
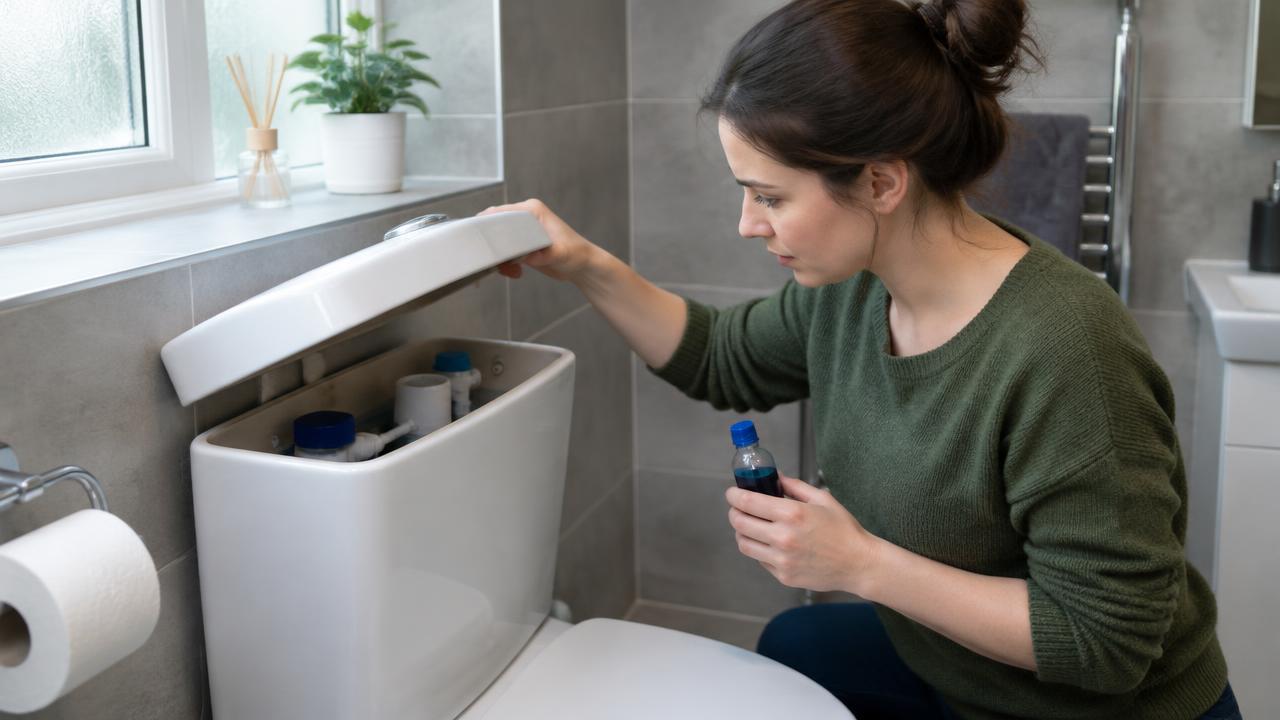
- Turn off the isolation valve, flush and sponge dry.
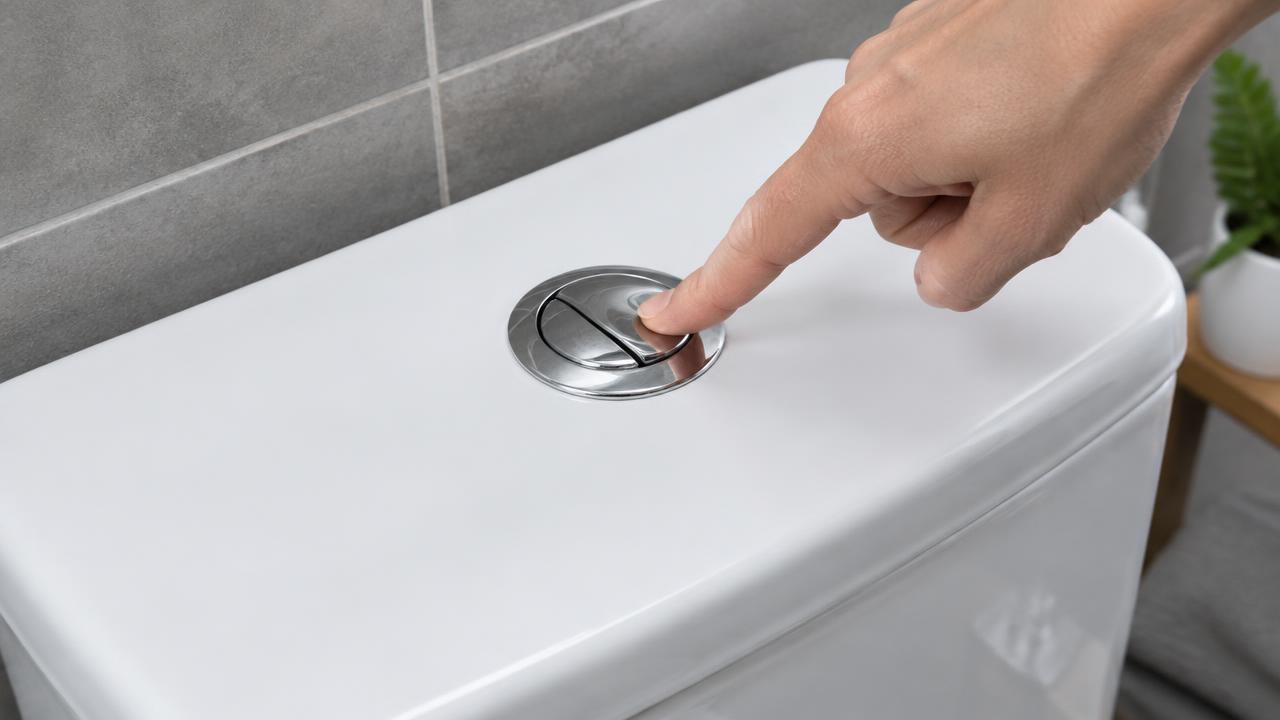
- Remove the button and lid.
- Twist out the valve, fit a new seal or a matching new inner part.
- Refit, reconnect the button and test.
Replacing with the cistern off
- Isolate, empty and disconnect the water supply.
- Undo the cistern bolts from under the pan and lift the cistern off.
- Undo the large back nut and remove the valve.
- Fit the new valve with its large seal inside the cistern base.
- Fit a new doughnut seal and new bolt washers — rubber washers inside the cistern under the bolt heads.
- Refit the cistern evenly, tighten bolts gradually side to side.
- Reconnect, turn on, test for leaks at the bolts and doughnut.
Pro tip: Tighten cistern bolts a little at a time on each side. Over-tightening cracks the ceramic.
Where the seals are
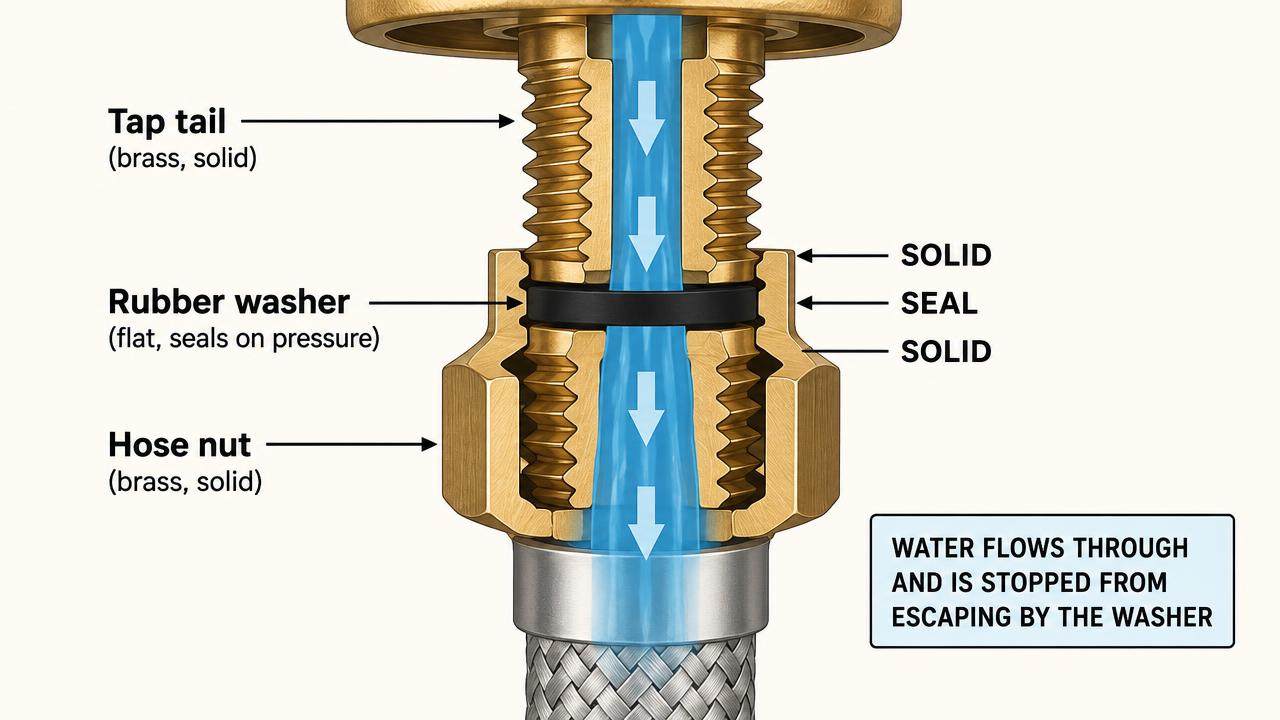
Flush valve base seal: inside the cistern, sealing the valve to the cistern. Doughnut: between cistern and pan. Bolt washers: inside the cistern under the bolt heads. Each is a Solid – Seal – Solid joint.