Before you start
Radiator valves are connected to the heating system, which is full of water. To replace a valve you usually drain the system, or at least the part that feeds the radiator. On a sealed system, refilling and repressurising must follow the system instructions.
Two seals on every radiator valve
- Radiator tail into the radiator: tapered thread — PTFE or paste here.
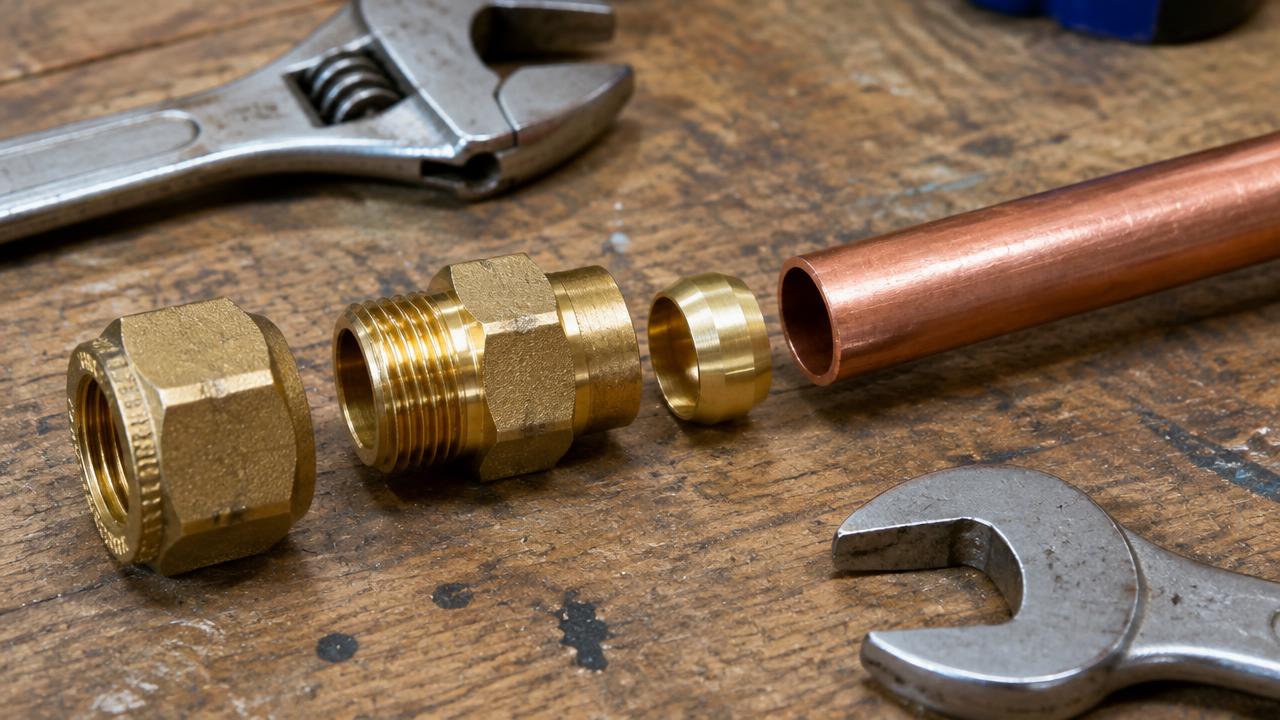
- Valve onto the pipe: compression joint — the olive is the seal.
- Valve to tail: a union with a cone seal; no tape needed on the union nut threads.
Pro tip: This is where many beginners go wrong: tape on the union, nothing on the tail. Remember which joint seals where.
Step by step
- Turn the heating off and let it cool.
- Drain the system or isolate the radiator.
- Undo the union nut and the compression nut and remove the old valve.
- Unscrew the old tail with a radiator spanner.
- Wrap the new tail thread with PTFE and screw into the radiator.
- Cut off the old olive if needed and fit a new nut and olive.
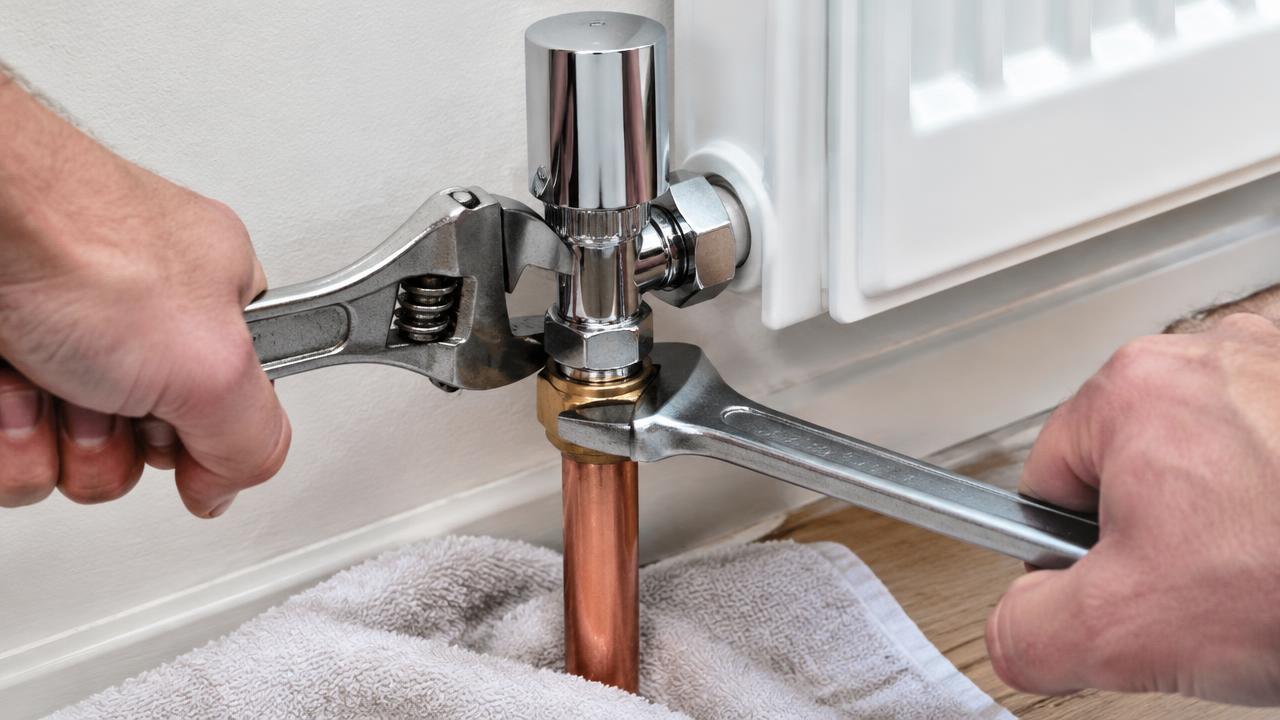
- Fit the valve and tighten both connections with two spanners.
- Refill, bleed, check for leaks, and repressurise if needed.